Monday, 9 October 2017

Colours, shapes and volumes - another series of testing

Colours are easy, shapes not quite so – this is my conclusion.

The present post as an extension to my first testing post, if you would remember it. Once again go on and off the beaten track.


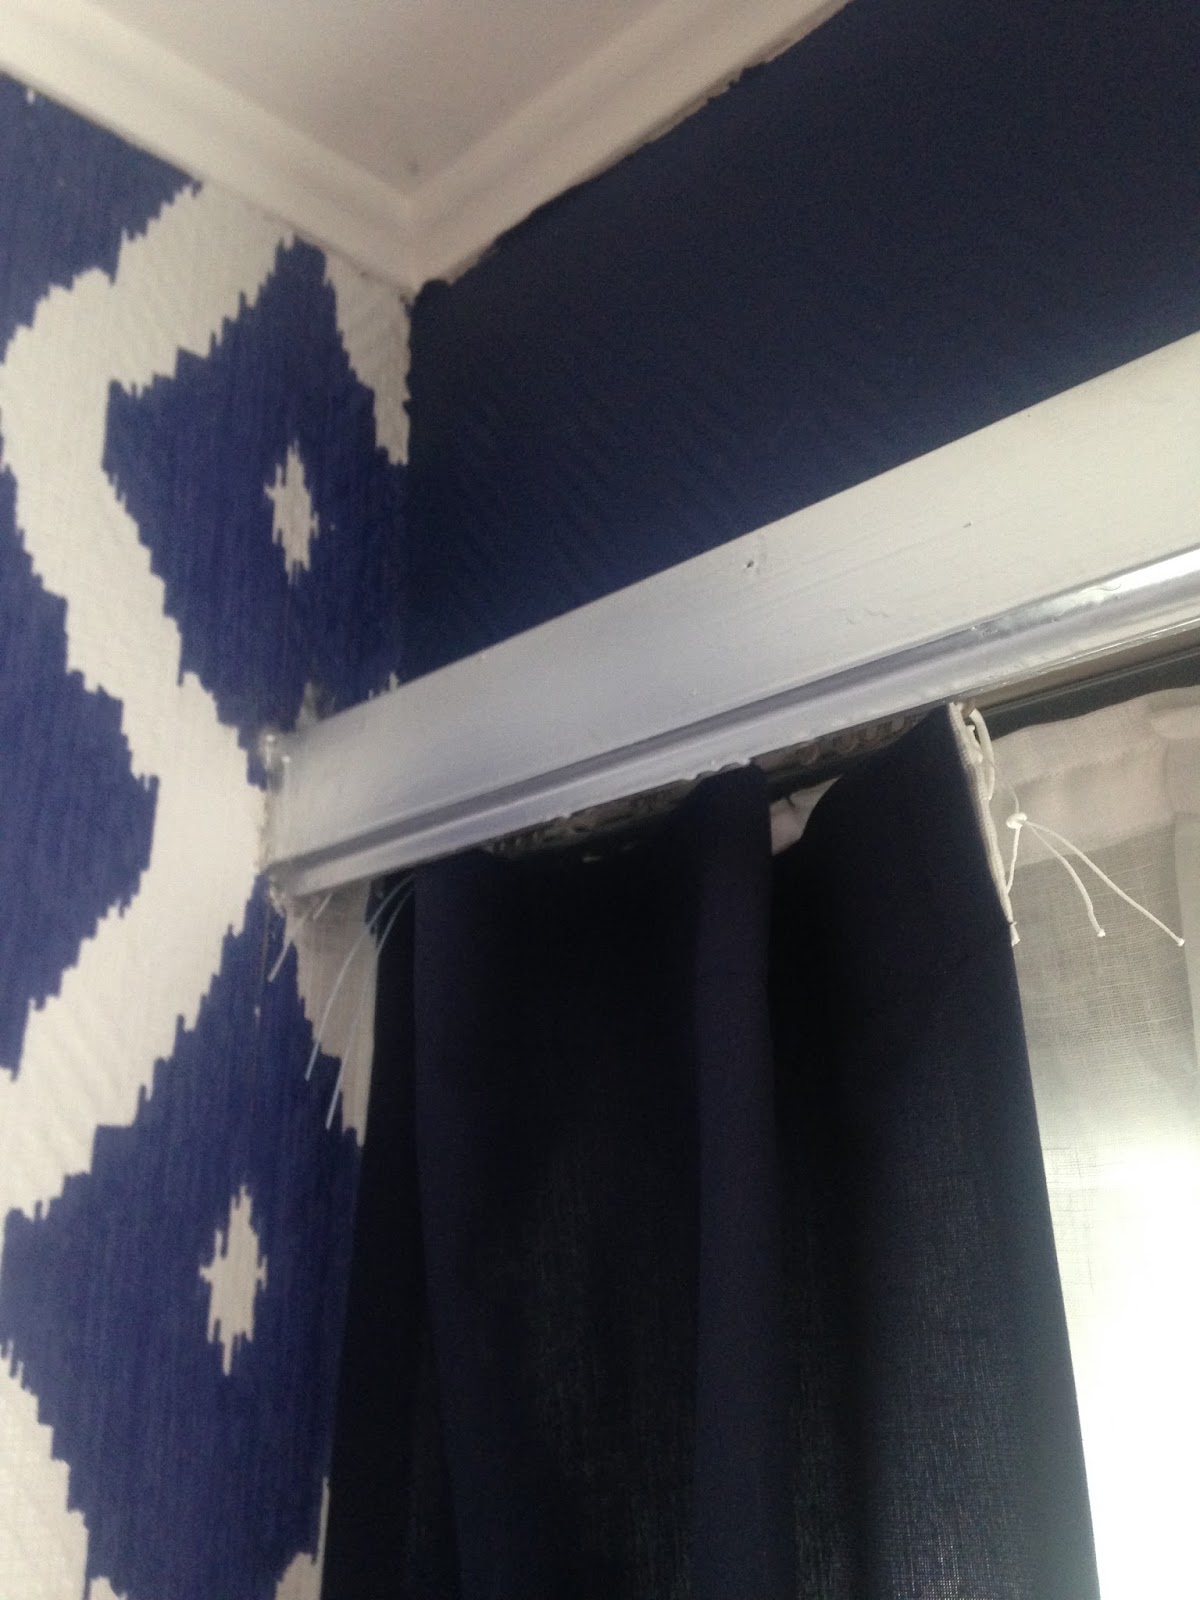
So, on the beaten track are colours. On the following picture you can see extracts from my room in different light. Light is probably the one factor which makes colour testing compulsory and not a single action – try in day light, try with lamps, try on a good and bad day. With dark colours it is particularly tricky, because nuances come out in the bright light of the day strictly.


Initially I toured the curtain shops with a paint chip. To my horror plenty of shops are deep and often the sample they show you cannot be seen in daylight anyway. We had some funny dialogues with shop assistants, which almost made me want to go and check my  eye sight. Luckily a sample can be rented and the colour verified in the exact exploitation conditions.


So, the next step after playing with the sample around the windows – in this in daylight, in shade next to the wall and next to the sheers, was placing and order – and that's it – game set and match.


The testing I find extremely difficult is reproducing a floor plan in an actual room, and that before purchasing the actual furniture. If you go back to my project two floor plan, you wouldn't fail to notice that it is not very orthodox (for those who were made party to my plan at the very least). The reason for placing the bed in the center of the room is that I love symmetry, so it is a natural axe. In addition, with windows on all the external walls, so little space is left for standing items, such as wardrobes. A second reason is that I need to enjoy the view from my bed, and that is one option for it. A last reason is that this layout provides for two mini zones, which can give additional functions to the room – and that is what I want too. So, back to the point – unorthodox floor plan, and multiple warnings – you won't be able to walk around it.


TIP 1
"Walking around it" is precisely what I've been testing those last days – a standard bed 200 by 160 is traced in masking tape, on the floor, and every time I go into the room – with a purpose of course, I try to see how much the "bed" is in my way. It is in my way, a little – and for sure two people in the same room will block the flow in that specific area. I think though that the only possible challenge is that the cut out zone may be underused due to bad accessibility. Also the person using that side of the bed may go grumpy, eventually.

TIP 2
Walk around it and move it a little. This is a test for my dining table – at present a piece of garden furniture, in the most up to date version of project two – a nice, extensible round table – IKEA INGATORP. Another thing I like about it is that it doesn’t have legs – will be much easier to move it around and place chairs around it. But it is also bigger than the present table. The solution is to cut out the shape and see how it fits – it will be a lot of work to trace a circle with masking tape, but a circle can be cut out. 


In fact I worked on a quarter of a circle. I traced it with a pencil and  a string, in the absence of compass. Then from the quarter, I produced the half, and the the other half. As you can see from the photographs – did not have enough of the same paper – but it all worked – the substitute paper is of the same quality. The advantage is that the shape also can be moved in different locations. So, as a result I am very reassured about the round table. I must also open a parenthesis – the exact footprint of the foot was not examined.


TIP 3
And now for the 3D question – how about the volumes of pieces – I may be able to walk around the tracing, but will I bang my knees? Will I brush off and knock off things from table tops? Tip three – use light items you can place in the future spot of furniture – in my case this is a frame for drying clothes – very light and possibly bigger than the intended piece of furniture. Even if it is transparent, I am not quite happy with the volume (planning for a future chest of drawers), so will need to think again. As you can see the purpose of the props well justified – another layer of thinking is activated – I have my doubts, confirmations and complimentary questions.


And now for the reader – have you experienced those issues yourself? What solutions did you explore? Do you find the tips useful?


Thursday, 28 September 2017

The benefit of a new floor

Recently I grew addicted to the game Design Home – probably my closest experience to "Mass" interior design. I think I am developing a strategy regarding the surfaces whereby I decide first on the large ones, and then on details, and this strategy puts the floors to the top of the list.

I am well aware that this story steps on the side of the interior design, but let's be realistic – in order to do it well it is good when there is understanding of the trades. So – here follows a story on the trade of floor rectification – more specifically sanding, polishing, lacquer and varnish.

First of all, I am very proud to show you my finished floor pictures. It was a long way getting there, to a surprisingly good result.


Initially, as you can see on the photos that follow, I was not a 100% sure I should do something, anything about this floor. It was far superior compared to my other floor. Than I did my works and gradually started noticing damages, big and small, to this glorious surface. Some of those damages I had inflicted myself.


I avoided those works for a number of reasons:

- Room is this glorious dark (is it Prussian?) blue, and I was happy with the colour, and also the way it matched the existing floor – so why leave for destination unknown?
- Works exactly on the borderline between what I want to have done by others, and what I think I can do myself – see musings from my previous post
- Works extremely dusty – and by now it is nearly a drill – make the apartment dirty with works, and then clean the apartment.

But thanks to my painting – again see previous post, I managed to have the room neatly empty. A part of my "things" were compacted, another part sold, and yet another part discarded permanently. So I had this glorious empty room with a floor waiting to be refurbished.

I was an optimist – given that there is an equipment renting shop in the vicinity, and that the said equipment rolls on its own wheels, I had a crash course on sanding in the shop, and dedicated a full Saturday attempting to do the job all by myself. The results of 5 hours sanding plus 3 hours cleaning the resulting dust were pathetic.


Thereafter I happily left for holiday, filing the whole issue to the back of my mind. I had left the equipment rent shop with 2 telephones of local "specialist".

So, to my greatest surprise, the first guy I called was available for the weekend after my holidays! He gave me a quick and honest price, but again the one big problem I have with services in Belgium: no reference to what the result would be, other than – "you will love it"!

Here I should probably open a parenthesis – I was warned that the guy might be having a drinking problem, which in no way prevents him from doing a great job. Turned out to be the case – so I'd call it drinking lifestyle. He only broke the plastic telephone outlet socket – an item not in use in principle, which I will have to find a way to replace.

Work started on a crisp Saturday morning – with a machine completely different from the one I had rented. I am guessing a more "into the research" type of a person would have known. So, the contractor showed up with full equipment and ran the first grinder – approximately 4 times throughout the day. Work was regularly interrupted for a cigarette and a drink – but also to invite me to take pictures of progress, which I share with you.


When this was done, he hand-scraped the corners, and if you are familiar by now with project 2, in this room there are a plenty. Then he thoroughly vacuumed the room and ran the next machine which is just for polishing. Just the type the shop had given to me for the main work.


More vacuuming, and the base lacquer was done. An hour later, the first layer of varnish was also put in place and the room was positively glowing. For the subsequent layers he chose 2 other days and the whole thing was completed in under a week, barely 10 days after my holidays. I was able to sigh.


The dust remained settling for a number of days thereafter, so it was not possible to proceed with furnishing.


The best part of the exercise, other than the remarkable speed and the surprising quality? I like the colour. It matches a great deal better the door colour, and the (Prussian?) blue stands out in a far better way.

With this I can close the chapter of hard furnishings and dig deeper in the soft ones. So, watch out for:
- Choosing curtains
- Upholstering
- Learning to do tufted items …. And so much more 

Before that I may have to revisit project 2 to be sure about the floor plan and the measurements. Share your thoughts and stay tuned!